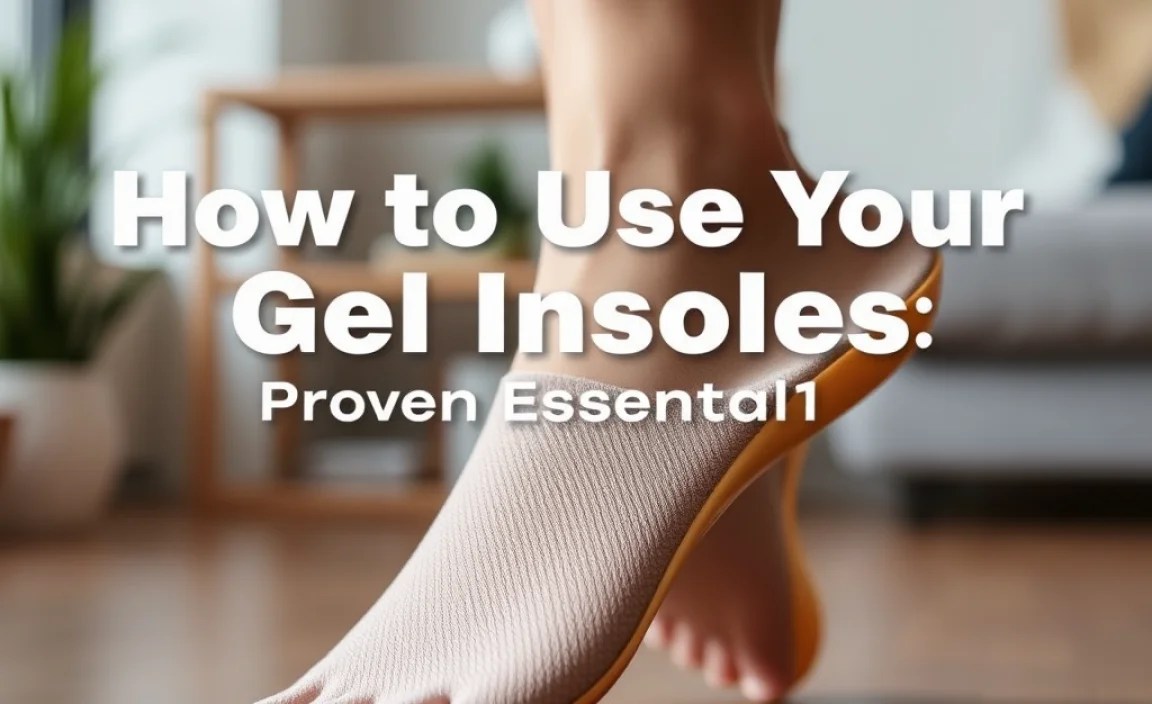
Quick Summary: To effectively use gel insoles, start by choosing the right size, trimming if necessary, and placing them snugly inside your shoes. Replace them every 6-12 months for optimal comfort and support. Proper usage ensures pain relief and enhanced foot health.
Are your feet tired, achy, or just…uncomfortable? You’re not alone! Millions of us deal with foot fatigue, whether from long days on our feet, intense workouts, or simply wearing the wrong shoes. It can really put a damper on your day, making even simple activities feel like a chore. But there’s a simple solution that can make a world of difference: gel insoles! These little wonders are designed to cushion your feet, absorb shock, and provide much-needed support. In this guide, we’ll walk you through exactly how to use gel insoles to get the most comfort and relief. Get ready to step into a world of happier feet!
What Exactly Are Gel Insoles and Why Use Them?

Gel insoles are cushioning inserts for your shoes, made from a flexible gel material. They’re designed to mimic the natural cushioning of your foot and provide extra shock absorption. Think of them as a comfy pillow for your soles! They can help reduce the impact on your feet, ankles, and even your knees with every step you take.
Why are they so popular? Well, they offer a fantastic blend of comfort and support without being too rigid. They can be a game-changer for a variety of foot issues and daily stresses.
Benefits of Using Gel Insoles:
- Shock Absorption: Gel is excellent at absorbing impact, which is great for reducing stress on your joints, especially if you spend a lot of time walking or running.
- Cushioning: They provide an extra layer of softness underfoot, making standing and walking much more comfortable.
- Pain Relief: Many people find relief from common foot pains like plantar fasciitis, heel spurs, and general foot fatigue.
- Support: While not as structured as orthopedic insoles, they offer moderate arch support and can help align your foot better.
- Versatility: They can be used in almost any type of shoe, from athletic sneakers and work boots to casual shoes and even some dress shoes.
- Cost-Effective: Compared to custom orthotics, gel insoles are a very affordable way to improve foot comfort.
Choosing the Right Gel Insoles for You

Not all gel insoles are created equal! Picking the right pair is the first step to getting the most out of them. Consider these factors:
Types of Gel Insoles:
- Full-Length Insoles: These cover the entire bottom of your shoe, from heel to toe. They offer comprehensive cushioning and support.
- Heel Cups/Pads: These focus on the heel area, providing extra cushioning and shock absorption specifically where many foot pain issues originate.
- Arch Support Insoles: Some gel insoles have built-in arch support to help people with flat feet or high arches.
- Activity-Specific Insoles: You can find gel insoles designed for specific activities, like running, walking, or standing for long periods. These often have targeted cushioning and support features.
What to Look for When Buying:
- Material: Look for high-quality gel that is durable and doesn’t flatten out too quickly. Some insoles also have a fabric top layer for added comfort and moisture-wicking.
- Thickness: Some are thin and sleek, fitting into tighter shoes, while others are thicker for maximum cushioning. Consider the space in your shoes.
- Arch Support: If you have specific arch needs, look for insoles that offer appropriate support.
- Size: Most gel insoles come in generic sizes (e.g., shoe size ranges). Ensure you choose the correct size for your foot.
How to Use Gel Insoles: A Step-by-Step Guide

Once you’ve got your perfect pair of gel insoles, it’s time to put them to work! Here’s how to get them into your shoes and start enjoying the benefits.
Step 1: Prepare Your Shoes
Before inserting your new gel insoles, it’s a good idea to remove any existing insoles or liners that came with your shoes. This creates a clean, smooth surface for your gel insoles to sit on, ensuring a better fit and preventing them from bunching up.
- Gently pull out the original insole from your shoe.
- If it’s glued down, you might need to carefully pry it up with your fingers or a thin, flat tool.
- Clean out any debris from inside the shoe.
Step 2: Size and Trim (If Necessary)
Most gel insoles are designed to fit a range of shoe sizes. However, sometimes you might need to trim them to get a perfect fit. This is especially true if you have narrower feet or are putting them into shoes that are a bit snug.
Look at the lines or markings on the bottom of the insole. These usually correspond to different shoe sizes. Based on your shoe size, you might need to make a small cut.
- Place your original insole (if you removed it) on top of the new gel insole and trace around it.
- Alternatively, place your foot inside the shoe with the gel insole on top and mark where your toes end.
- Use a sharp pair of scissors or a craft knife to carefully trim along the marked lines. Trim small amounts at a time and test the fit to avoid overcutting.
Step 3: Insert the Gel Insoles
Now for the main event! Carefully slide your trimmed gel insole into the shoe.
- Make sure the heel of the insole is sitting flush against the heel of the shoe.
- Gently push the insole down to ensure it lies flat and smooth, with no wrinkles or gaps, especially under the arch.
- The insole should fit snugly without being so tight that it causes bulging or discomfort.
Step 4: Test the Fit and Comfort
Put on the shoe with the new insole and walk around for a few minutes. Pay attention to:
- Comfort: Do you feel immediate cushioning and support?
- Fit: Does the insole stay in place? Are there any pinch points or rubbing?
- Pressure Points: Are there any areas where you feel too much pressure?
If needed, you can make minor adjustments or further trim the insole. If the discomfort persists, the insole might not be the right type for your foot or shoe.
Step 5: Break Them In (If Necessary)
Some gel insoles might feel a little different at first. It’s often recommended to wear them for short periods initially, gradually increasing the time you wear them each day. This helps your feet adjust to the new cushioning and support. This is especially true if you’re using them for the first time or switching from a less supportive insole.
Start by wearing them for an hour or two during daily activities. Then, increase to a few hours, and eventually, you can wear them all day. Your feet will thank you for this gradual introduction!
When to Replace Your Gel Insoles
Gel insoles are not meant to last forever. They are designed to provide comfort and support, but over time, the gel can compress, and the cushioning can wear down. This means they become less effective.
Here’s a general guideline for when to replace them:
- Every 6 to 12 Months: For most regular users, replacing them annually is a good rule of thumb.
- When Comfort Decreases: If you notice your feet are starting to ache again, or the insoles feel less cushioned than before, it’s probably time for a new pair.
- Visible Wear and Tear: Look for signs like flattened gel, tears in the material, or a permanent crease where your heel rests.
Remember, the effectiveness of your gel insoles depends on how often you use them and the activities you do. Athletes or those who are on their feet all day might need to replace them more frequently than someone who uses them occasionally.
Maximizing Your Gel Insole Experience: Essential Tips
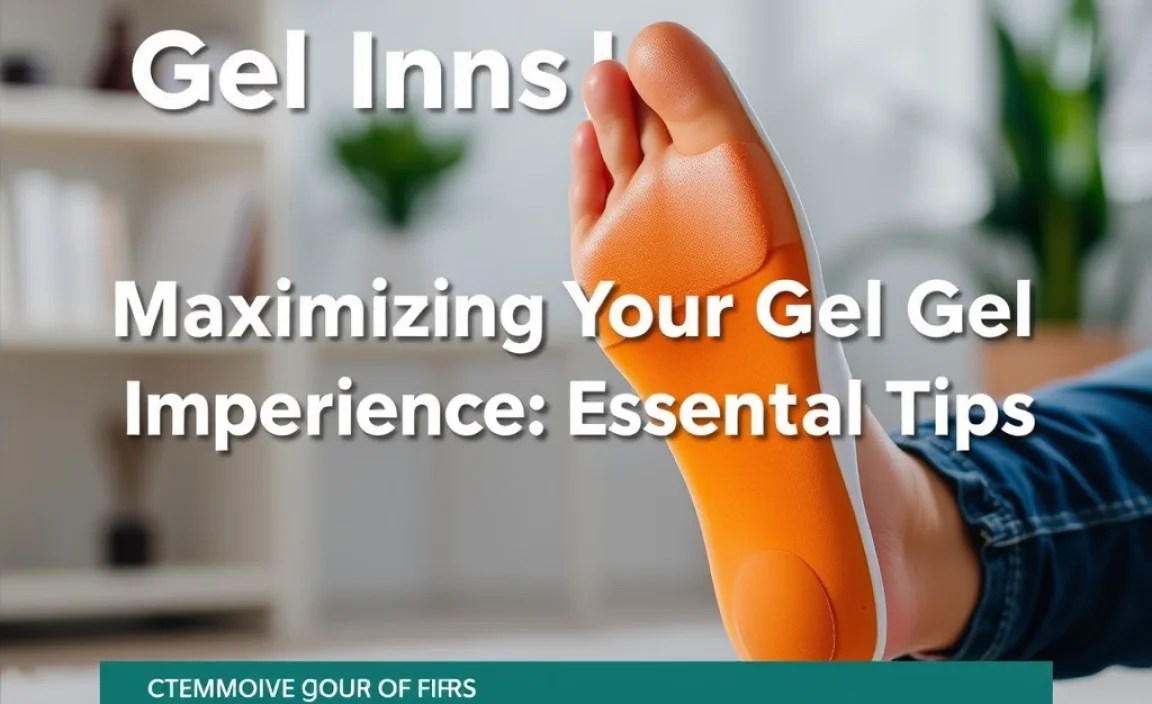
To get the absolute most out of your gel insoles, here are some proven tips:
Tip 1: Match Insoles to Your Shoes
As mentioned, different shoes need different insoles. A thick, highly cushioned insole might be perfect for a running shoe but won’t fit well in a sleek dress shoe. Conversely, a thinner insole might not offer enough cushioning for a heavy-duty work boot.
Consider the shoe’s natural flexibility and depth. For shoes with minimal cushioning or support, thicker, more supportive gel insoles can be a great upgrade. For shoes that are already quite comfortable, thinner gel inserts can add just a bit more padding.
Tip 2: Consider Your Foot Type and Needs
While gel insoles offer general cushioning, some are better suited for specific foot types. If you have flat feet, you might benefit from gel insoles with a bit more arch support. If you have high arches, you might need insoles that offer more flexibility and shock absorption in the heel and forefoot. If you have specific medical conditions like plantar fasciitis, speak with a podiatrist; they might recommend a specific type of insole or even custom orthotics.
The NHS website provides helpful information on understanding foot conditions like flat feet, which can guide your insole choice.
Tip 3: Proper Hygiene is Key
Just like your shoes, your insoles can get dirty and develop odors. To keep them fresh:
- Air Them Out: Remove your insoles from your shoes after wearing them and let them air dry. This helps reduce moisture and odor buildup.
- Clean Them: Most gel insoles can be gently hand-washed with mild soap and cool water. Rinse them thoroughly and let them air dry completely before putting them back in your shoes. Harvard Health Publishing also offers general foot health tips that complement insole use.
- Rotate Insoles: If you have multiple pairs of shoes with gel insoles, rotating them can help them last longer and keep your footwear fresher.
Tip 4: Don’t Ignore Pain
While gel insoles are designed to relieve pain, they are not a magic cure-all. If you experience persistent or worsening foot pain after using gel insoles, it’s crucial to consult a healthcare professional, such as a podiatrist or doctor. They can properly diagnose the cause of your pain and recommend the best course of action, which may include different types of insoles or other treatments.
Tip 5: Use Multiple Pairs for Multiple Shoes
To truly benefit from your gel insoles, it’s ideal to have a dedicated pair for each pair of shoes you wear regularly. Constantly moving insoles between shoes can be a hassle and may lead to them not fitting as well in different shoes. Plus, it’s always best to have your insoles ready to go in your favorite comfortable shoes.
Gel Insoles vs. Other Types of Insoles
Gel insoles are just one type of insole available. Understanding the differences can help you make the best choice for your needs.
| Insole Type | Primary Material | Key Benefits | Best For | Considerations |
|---|---|---|---|---|
| Gel Insoles | Gel | Excellent shock absorption, good cushioning, versatile. | Everyday comfort, active individuals, mild foot fatigue. | Can be less supportive than foam or orthotics, may compress over time. |
| Foam Insoles (EVA/Poron) | Foam (Ethylene-vinyl acetate) | Lightweight, good cushioning, responsive support. | Athletes, long periods of standing, general comfort. | Can wear out faster than gel if of lower quality. |
| Orthotic Insoles (Rigid/Semi-Rigid) | Plastic, Carbon Fiber, Hard Polymers with softer top layers | Superior arch support, alignment correction, stability. | Significant foot conditions (plantar fasciitis, overpronation), biomechanical issues. | Can be expensive, may require a break-in period, less flexible. |
| Cushioning Insoles (Plush) | Soft fabrics, memory foam | Maximum softness and comfort. | Those seeking ultimate plushness, mild foot sensitivity. | May offer less structural support and durability. |
Gel insoles strike a great balance for many people. They provide a noticeable comfort upgrade in most shoes without the bulk or rigidity of some other options. If you’re unsure, starting with a good pair of gel insoles is often a safe and effective bet.
Frequently Asked Questions About Gel Insoles
Here are some common questions beginners have about using gel insoles:
Q1: Can I wear gel insoles in any type of shoe?
A: Yes, gel insoles are highly versatile. They can be used in athletic shoes, work boots, casual sneakers, and even some types of dress shoes, provided there’s enough room. You might need to trim them to fit snugly.
Q2: How do I know if gel insoles are right for me?
A: If you experience general foot fatigue, mild aches, or want extra cushioning and shock absorption in your shoes, gel insoles are likely a good choice. They can significantly improve comfort for many people.
Q3: Will gel insoles help with my specific foot pain, like plantar fasciitis?
A: Gel insoles offer cushioning that can help absorb shock, which may provide relief for conditions like plantar fasciitis. However, for serious foot pain, it’s always best to consult a podiatrist who can diagnose your condition and recommend the most appropriate insole or treatment. Some gel insoles have enhanced arch support that can be beneficial.
Q4: How often should I clean my gel insoles?
A: It’s a good idea to air them out daily and clean them as needed, typically every few weeks or when they start to smell. Handwash them with mild soap and water, rinse thoroughly, and let them air dry completely.
Q5: Can I switch my gel insoles between different pairs of shoes?
A: You can, but it’s not ideal for consistent comfort and fit. It’s best to have separate insoles for your most frequently worn shoes. Constantly moving them might also cause them to lose their shape over time.
Q6: Are gel insoles better than memory foam insoles?
A: Gel and memory foam insoles offer different types of comfort. Gel is known for excellent shock absorption and responsiveness, while memory foam molds to your foot for a plush, customized feel. Your preference and needs will determine which is “better” for you. Gel provides more durable cushioning for active use.
Q7: Do I need to wear socks with gel insoles?
A: Yes, it is highly recommended to wear socks with gel insoles. Socks help absorb moisture, prevent friction, and keep your feet comfortable. Wearing insoles without socks can lead to discomfort, blisters, and odor buildup.
A Natural Conclusion to Happy Feet
Taking care of your feet is essential for overall well-being, and using gel insoles is a simple yet effective way to boost comfort and reduce discomfort in your daily life. By understanding how to choose, use, and maintain them, you can unlock a new level of support and cushioning for your feet, no matter what your day involves.
Remember the key steps: select the right insole for your needs and shoes, trim for a perfect fit, insert them properly, and give your feet a little time to adjust. And don’t forget to replace them when they start to show signs of wear. With these proven tips, your gel insoles will be well on their way to transforming your walking and standing experience.
So, go ahead! Step into comfort and enjoy the difference that well-supported, happy feet can make. Your journey to a more comfortable stride starts now.
}
@media screen and (max-width: 480px) {
}
;
}
