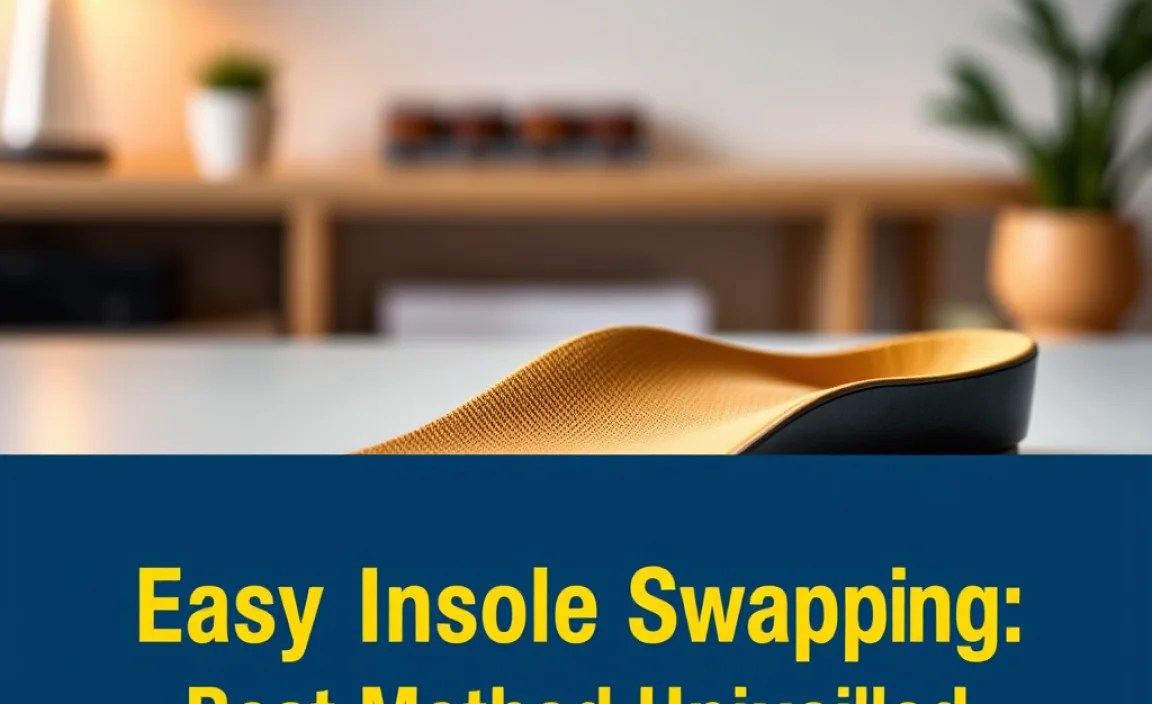
Easy insole swapping is a skill that can significantly enhance the comfort, support, and longevity of your footwear. Whether you’ve invested in high-performance orthopedic inserts, breathable athletic insoles, or simply want to revitalize a favorite pair of shoes with a fresh insert, understanding the best method for swapping them is key.
This process, while seemingly straightforward, can be made even simpler and more effective with a few smart techniques. Forget struggling with stubbornly glued-in insoles or worrying about damaging your shoes; we’ll break down the most efficient approach to ensure a smooth and successful transition every time.
The primary benefit of mastering how to swap insoles between shoes lies in versatility and cost-effectiveness. Instead of purchasing multiple pairs of specialized footwear, you can invest in a few sets of premium insoles and distribute them across various shoes as needed.
For example, your orthotics might be perfect for your walking shoes, but you might also want them for your work boots or even certain comfortable casual shoes. The ability to perform this swap effortlessly means you get the maximum benefit from your investment while maintaining the ideal level of support and comfort for your feet throughout the day.
The Essential Steps to Effortless Insole Swapping

Before diving into the “how,” it’s important to understand what makes a good insole swap. The goal is to remove the old insole cleanly and insert the new one without causing creases, tears, or misalignment. Here’s a breakdown of the best method:
1. Assess the Existing Insole: The first step is to determine how your current insoles are secured. Most modern shoes come with removable insoles. Gently try to lift a corner of the insole with your finger. If it comes up easily without resistance, it’s likely not glued. If it’s firmly attached, it might be adhered with a light adhesive. Very rarely, some shoes have permanently fixed insoles, which would make swapping impossible.
2. Removing Stubborn Insoles (If Necessary): If your insoles are slightly adhered, don’t force them out aggressively. Instead, try a gentle prying motion. You can use a thin, blunt object like a plastic putty knife (avoid sharp metal that could cut the shoe lining) to carefully work under the edge.
For very stubborn insoles, a low-heat hairdryer can sometimes soften the adhesive enough to allow for easier removal. Hold the hairdryer a few inches away and move it constantly to avoid overheating any one spot. Once loosened, gently pull the insole out.
3. Prepare the Shoe Interior: With the old insole removed, take a moment to inspect the inside of the shoe. Ensure there’s no debris, loose threads, or lingering adhesive residue. A quick wipe with a dry cloth is usually sufficient.
If there was any adhesive, you might want to gently clean it off with a damp cloth (mild soap and water, then allow to dry thoroughly) or a specialized adhesive remover if necessary. A clean surface will ensure the new insole sits flat and securely.
4. Positioning the New Insole: This is where precision matters. Take your new insole and align its heel and toe contours with the shape of the shoe’s interior. Most insoles are anatomically shaped, so they’ll only fit correctly in one orientation. Place the heel of the insole first, then gently guide the rest of it into place.
5. Securing the New Insole: Once in position, press down firmly on the insole, starting from the heel and working your way to the toe. Apply even pressure across the entire surface. This helps the insole mold to the shoe’s footbed and ensures it stays put during wear. You can even wear the shoe around the house for a short period to help it settle in.
Mastering How to Swap Insoles Between Shoes for Optimal Fit

The beauty of understanding how to swap insoles between shoes effectively is that it allows for a personalized footwear experience. Here are some additional tips and considerations to elevate your insole-swapping game:
Consider the Shoe Type: Not all insoles are suited for all shoes. Running shoes often benefit from cushioned and supportive insoles, while dress shoes might require thinner, more discreet options. When deciding how to swap insoles between shoes, think about the activity or purpose of the shoe. For instance, swapping a rigid orthotic into a soft canvas slip-on might not provide the intended support and could even feel uncomfortable due to the shoe’s flexibility.
Insole Size and Shape: Always ensure that the insoles you intend to swap are the correct size and a comparable shape to the original. While many insoles can be trimmed, drastically different shapes might lead to an awkward fit or potential bunching. If an insole is slightly too large, you can often trim the edges with sharp scissors to match the original’s dimensions.
Break-In Period: Even with the best method, new insoles, especially custom or firm ones, might require a short break-in period. Wear them for shorter durations initially and gradually increase your wear time to allow your feet to adapt and to let the insoles conform to your specific foot shape.
Cleaning and Maintenance: Regularly cleaning your insoles, whether they are the originals or replacements, will extend their life and maintain hygiene. Follow the manufacturer’s instructions for cleaning, but generally, mild soap and water with air drying is a safe bet for most types. If you’re swapping between shoes that are worn in different environments (e.g., gym shoes vs. casual shoes), cleaning the insoles between swaps can prevent odor transfer and maintain cleanliness.
By adopting these simple yet effective strategies, you can master the art of easy insole swapping. This not only enhances the comfort and performance of your existing footwear but also represents a smart and economical approach to foot health and shoe care. Now, you are well-equipped to enjoy the benefits of targeted foot support across your entire shoe collection.
}
@media screen and (max-width: 480px) {
}
;
}