For fashion stylists who love heels but dread the pain, specialized insoles offer discreet, effective comfort to keep you stylish and pain-free all day long.
Do you adore the elongating power and the confidence boost that comes with wearing high heels? Many fashion stylists do! Yet, the stylish silhouette often comes with a hidden price: aching feet. We get it. The desire to look and feel fabulous shouldn’t mean enduring discomfort. If sore arches, throbbing heels, or burning balls of your feet are dimming your style spark, there’s a simple solution. We’re here to walk you through how selecting the right insoles can transform your favorite heels from torture devices into comfortable companions. Get ready to keep your feet happy, no matter how high you go!
The Sweet Spot: Finding Comfort in Fashion Heels

Fashion stylists are on their feet constantly. Whether it’s a photoshoot, a client consultation, scouting for trends, or presenting a vision, heels are often part of the uniform. But let’s be honest, stilettos, pumps, and wedges, while chic, don’t exactly prioritize ergonomic design. They shift your weight forward, straining your feet and ankles. This can lead to a cascade of issues:
- Metatarsalgia (pain in the ball of the foot)
- Plantar fasciitis (heel pain)
- Bunions and hammertoes
- Achilles tendonitis
- General foot fatigue and aching
The good news? You don’t have to sacrifice style for comfort. The secret weapon for many in fashion is the humble insole. But not just any insole will do. For fashion heels, we need insoles that are thin, discreet, and specifically designed to address the unique challenges posed by elevated footwear.
Why Standard Insoles Might Not Cut It
Many over-the-counter insoles are designed for athletic shoes or everyday comfort in flatter footwear. They can be too thick, too rigid, or have arch support that clashes with the angle of a heel. Trying to cram a bulky orthotic into a sleek pump is like trying to fit a square peg in a round hole – it just doesn’t work and can even make the shoe fit poorly, causing blisters and discomfort.
What fashion stylists need are insoles that:
- Are ultra-thin to fit seamlessly into dressier shoes.
- Provide targeted cushioning and support where heels need it most.
- Help redistribute pressure away from sensitive areas.
- Are made of breathable, odor-controlling materials.
- Stay put without slipping.
Insole Essentials for Fashion Heels: What to Look For

When choosing insoles for your fashion heels, think about what makes heels uncomfortable in the first place: pressure points and lack of natural cushioning. Here’s what you should be looking for:
1. Material Matters: Cushioning Meets Sleekness
The ideal insole material for heels needs to be both supportive and slim. Look for:
- Gel or Silicone: These materials offer excellent shock absorption without adding much bulk. They conform to the shape of your foot and shoe, providing cushioning right where you need it, especially under the ball of the foot and the heel.
- Foam (High-Density): While standard foam can be bulky, high-density or specialized memory foams can offer responsive cushioning that doesn’t compress too easily. Look for descriptions like “performance foam” or “energy-return foam.”
- Fabric Top Covers: A breathable top layer, like microfiber or moisture-wicking fabric, is crucial. It helps prevent your feet from getting too hot and sweaty, reducing the risk of blisters and odor.
2. Design for Heels: Targeted Support
Heels require a different approach than flats. The best insoles for fashion shoes will focus on:
- Forefoot Cushioning: The ball of your foot bears the brunt of the pressure in heels. Insoles with extra padding in this area are a game-changer. Some insoles have “metatarsal pads” specifically designed for this purpose.
- Heel Cups/Padding: While not a deep cup like in athletic shoes, some slimming insoles offer a slightly raised edge or a padded insert at the heel to provide a bit of shock absorption and stability.
- Slim Profile: This is non-negotiable. The insole should be designed to fit into the natural shape of a dress shoe without lifting your heel out of the shoe or making the toe box too tight.
- Arch Support (Subtle): While aggressive arch support can be problematic in heels, a gentle, flexible contour can help distribute weight a little more evenly. Avoid rigid, high arches.
3. Adhesion and Stability: Staying in Place
A slipping insole is as bad as no insole at all. Look for insoles with some grip on the bottom or a subtle adhesive backing to ensure they stay securely in place within your shoe.
4. Breathability and Odor Control
Dress shoes can sometimes lack ventilation. Insoles with moisture-wicking properties and antimicrobial treatments can significantly reduce sweat and combat odor, keeping your feet feeling fresher.
Types of Insoles Perfect for Fashion Heels
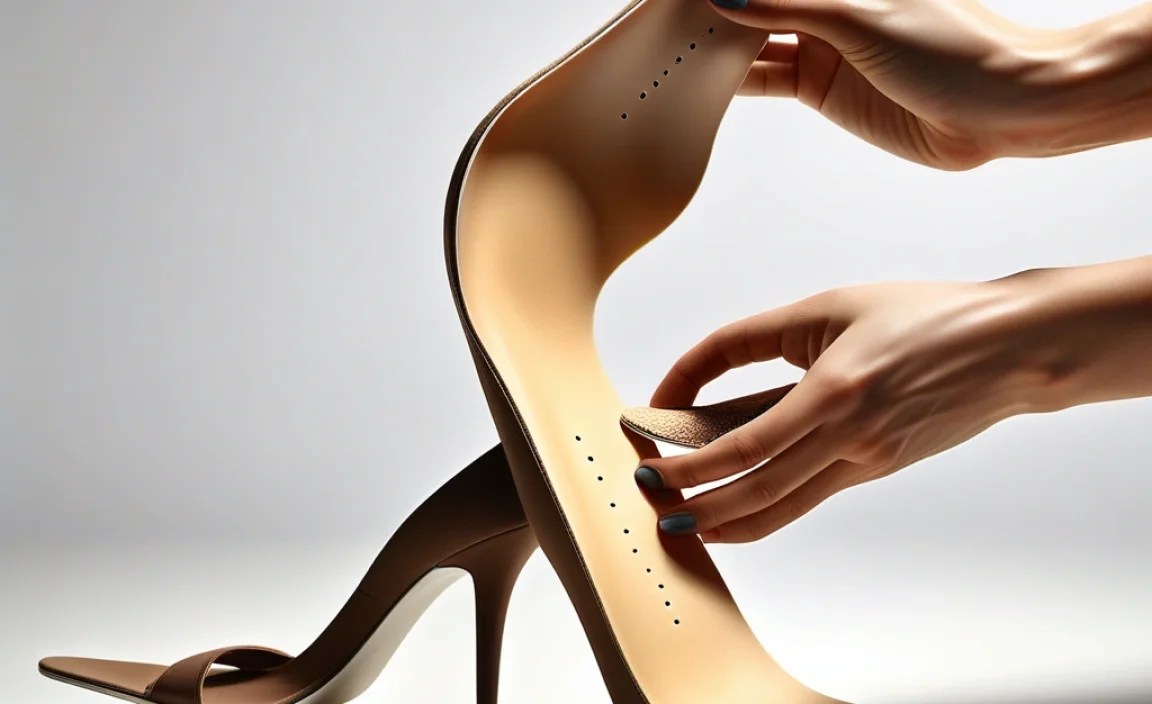
Not all insoles are created equal, and for fashion footwear, we need specialized solutions. Here are the most effective types:
1. Gel or Silicone Cushions
These are often the go-to for heels because they are incredibly thin and provide excellent shock absorption. They can be full-length or designed as separate pads for the heel or forefoot.
Pros:
- Ultra-thin and discreet.
- Excellent shock absorption.
- Conform to the shoe’s shape.
- Durable.
Cons:
- Can sometimes feel a bit “slippery” if they don’t have a good top surface.
- May not offer much in terms of arch support.
2. Slim Performance Insoles
These are designed with dress shoes in mind. They offer a balance of cushioning, some gentle arch contouring, and a low profile. They are often made from a combination of foam and gel.
Pros:
- Good balance of cushioning and subtle support.
- Low profile fits most dress shoes.
- Often have breathable top layers.
Cons:
- Might be slightly thicker than pure gel inserts.
- Can be more expensive than basic cushions.
3. Metatarsal Pads
These are focused inserts, usually placed just behind the ball of your foot. They help lift the metatarsal heads, taking pressure off the painful area and redistributing it slightly.
Pros:
- Targeted relief for forefoot pain.
- Extremely discreet.
- Can be used on their own or in conjunction with other cushioning.
Cons:
- Don’t offer full-foot cushioning.
- May require some positioning to find the ideal spot.
4. Heel Liners and Inserts
While not strictly “insoles,” these can be very helpful. They typically stick to the back of the heel area and provide cushioning, prevent rubbing, and can help secure your foot in a shoe that’s slightly too big.
Pros:
- Prevent heel slippage and blisters.
- Add a touch of cushioning to the heel.
- Very easy to apply.
Cons:
- Only address the heel area.
- Don’t provide forefoot or arch support.
How to Choose the Right Insole for Your Heels: A Quick Guide
Let’s break down the selection process so you can make an informed choice.
Step 1: Identify Your Primary Pain Point
Where do you feel the most discomfort in your heels?
- Ball of the foot: Look for insoles with dedicated forefoot cushioning or metatarsal pads.
- Heel: Consider gel heel cups or inserts, or full-length slim insoles with heel padding.
- Arch/Overall ache: Opt for slim performance insoles offering gentle arch contouring.
Step 2: Consider the Heel Height and Style
- Lower Heels (1-2 inches): Most slim insoles or gel cushions will work well.
- Medium to High Heels (2-4 inches): Forefoot cushioning and shock absorption become critical. Gel pads or specialized slim insoles designed for high heels are best.
- Stilettos/Pumps: Ultra-thin silicone or gel inserts are often the only option that fits without altering the shoe’s feel.
- Wedges: These can sometimes accommodate slightly more substantial insoles due to their wider base and often deeper interiors.
Step 3: Check the Shoe’s Interior
Take a look at the inside of your favorite heels. Do they have a removable insole? Is the interior very sleek and structured, or is there more room?
- If there’s a removable insole, you might be able to replace it with a compatible slim insole.
- If the shoe has a very contoured or rigid interior, focus on stick-on pads or ultra-thin gel inserts.
Step 4: Material and Breathability
For prolonged wear, especially in warmer weather or under studio lights, breathable materials are key. Look for fabrics that wick moisture.
Step 5: Read Reviews (The Human Experience!)
See what other stylists or people wearing similar shoes have said about specific insole brands and models. Look for comments on fit, durability, and effectiveness in high heels.
Application and Adjustment: Getting it Right
Once you’ve chosen your insoles, the next step is to ensure they work perfectly with your shoes.
1. Preparing Your Shoe
Remove any existing insoles if possible. Clean the inside of the shoe to ensure a good surface for the new insole or pads to adhere to. For stick-on pads, ensure the area is dry.
2. Positioning is Key: Trial and Error
This is where patience pays off. For full-length insoles, slide them into the shoe. They should fit snugly but not bunch up. For targeted pads (like metatarsal or heel pads), you’ll need to find the sweet spot.
- Metatarsal Pads: Try placing them just behind the widest part of your forefoot. You should feel the pressure lift slightly from the ball of your foot.
- Heel Cups: These should cradle the natural curve of your heel.
It’s often best to try positioning them without peeling off any adhesive backing first. Once you have them in the optimal position, then secure them.
3. The “Wear Test”
Don’t commit to wearing your new insoles for an entire day right away. Wear the shoes with the insoles around your home for an hour or two. Walk on different surfaces. Pay attention to:
- Are there any new pressure points?
- Does the shoe feel tighter in a specific area?
- Is the insole staying put?
If you experience new discomfort, you might need to slightly readjust the position of the insole or pad. Many insoles are designed to be removed and re-positioned a few times.
4. Adjusting the Fit
Sometimes, a shoe might feel a little tighter with an insole. If this is the case, consider whether you need a slightly wider shoe style or if the insole you chose is a bit too thick. Some very slim insoles have a “trim-to-fit” feature, allowing you to cut them down for a more precise fit, especially in shoes with a tapered toe box.
Insoles vs. Professional Orthotics for Heels
It’s important to distinguish between over-the-counter insoles and custom-made or professionally prescribed orthotics. For the vast majority of people seeking comfort in fashion heels, well-chosen over-the-counter insoles are sufficient and practical.
Over-the-Counter Insoles:
- Pros: Affordable, readily available, wide variety of options, designed for specific shoe types (like slim dress shoes), easy to replace.
- Cons: One-size-fits-most approach, may not address severe biomechanical issues.
Professional Orthotics (Custom or Semi-Custom):
- Pros: Tailored to your specific foot structure and biomechanics, can correct significant issues (like severe overpronation or limb length discrepancies), often more durable for long-term correction.
- Cons: Significantly more expensive, require an appointment with a podiatrist or orthotist, often bulky and not suitable for narrow or sleek fashion footwear, can take time to get used to.
When to See a Professional: If you have persistent, severe foot pain, a diagnosed foot condition (like advanced plantar fasciitis, bunions causing significant pain, or structural deformities), or if over-the-counter insoles don’t provide relief, consulting a podiatrist is the best course of action. They can assess your feet and recommend true medical-grade orthotics, and discuss whether they can be adapted for or used in certain types of heels.
Maintaining Your Insoles and Your Heels
To get the most out of your insoles and keep your stylish shoes in good condition, follow these simple maintenance tips:
- Daily Airing: After wearing your heels, remove the insoles if possible and let them and the shoes air out. This helps prevent moisture buildup and odor.
- Cleaning: Most gel and silicone insoles can be washed with mild soap and water. Allow them to air dry completely before reinserting. For fabric-topped insoles, follow the manufacturer’s cleaning instructions – usually a spot clean with a damp cloth is sufficient. Avoid machine washing or submerging unless specified.
- Inspection: Periodically check your insoles for wear and tear. Look for flattened cushioning, thinning material, or signs of separation. If an insole is no longer providing comfort or is visibly degraded, it’s time for a replacement.
- Shoe Care: Remember that insoles help, but proper shoe care is also vital. Keep heels clean and conditioned. Use shoe trees to help shoes retain their shape.
A good pair of insoles can significantly extend the life of your favorite heels, not just in terms of wear and tear but in terms of you being able to wear them more often and for longer periods!
A Comparative Look: Insoles for Different Heel Types
Not all heels are created equal, and neither are the insoles required for them. Here’s a table to help you visualize which type of insole might be best suited for common fashion heel styles.
| Heel Type | Typical Height (Inches) | Primary Comfort Challenge | Recommended Insole Type | Key Features to Look For |
|---|---|---|---|---|
| Pumps/D’Orsay | 2-4 | Forefoot pressure, arch strain, heel slippage | Slim Gel or Silicone Inserts; Metatarsal Pads | Ultra-thin profile, forefoot cushioning, breathable top layer |
| Stilettos | 3-5+ | Extreme forefoot pressure, lack of natural footbed, ankle instability (primarily shoe design) | Discreet Gel Forefoot Pads; Thin Heel Grips | Minimal bulk, targeted shock absorption at the ball of the foot, non-slip backing |
| Block Heels | 1.5-3 | Heel pressure, foot fatigue | Slim Foam or Gel Insoles; Full Cushioning Inserts | Good all-around cushioning, subtle arch support, medium slim profile |
| Wedges | 1-4 | Pressure distribution, arch flattening (depending on sole design) | Slim Performance Insoles; Contoured Gel Insoles | Balanced cushioning throughout, gentle arch contour, good heel cushioning |
| Kitten Heels | 1-2 | Slight forefoot pressure, general comfort | Thin Gel Inserts; Basic Shoe Cushions | Minimal bulk, soft cushioning, smooth top surface |
Remember, this is a general guide. The actual fit and feel will depend on the specific shoe construction and your individual foot shape. Always prioritize trying insoles in your shoes to gauge the fit.
